Page last modified: Sep 3 2021.
Overview
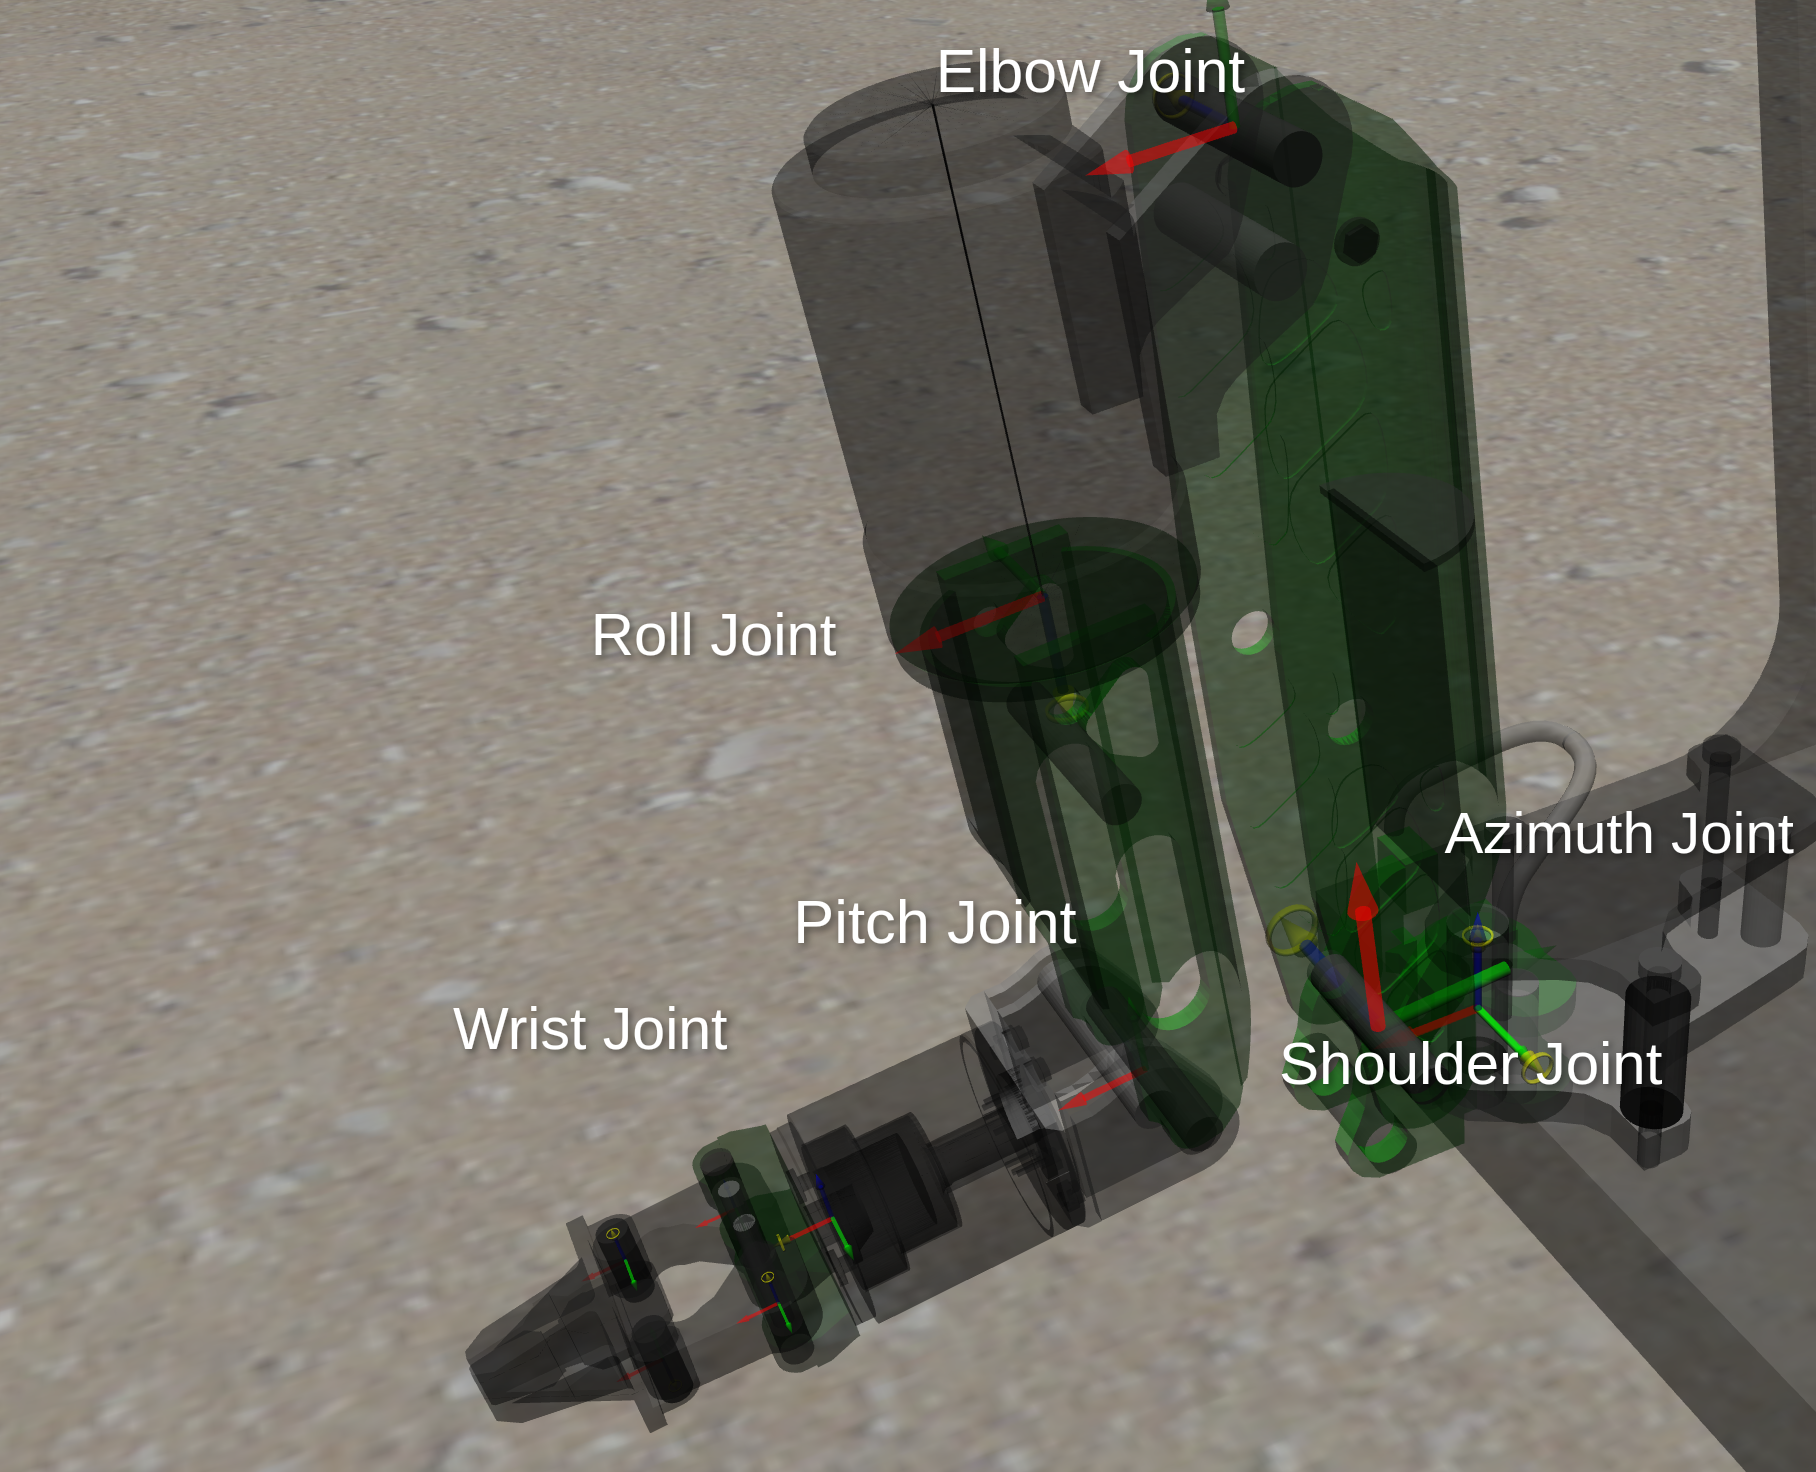
Each joint of the manipulator arm has a force-torque (FT) sensor. Each of those sensors provide 6 readings: x,y,z forces and x,y,z torques. The purpose of these sensors is to provide as much feedback as possible to operators when manipulating the arm in a low visibility under-water environment.
Location of the sensors
For the oberon7 manipulator arm, there are 6 FT sensors located at the following joints:
- azimuth joint
- shoulder joint
- elbow joint
- roll joint
- pitch joint
- wrist joint
- The other joints in the gripper do not have the FT sensor.
To see these joints in Gazebo, you can turn on the transparency and joints from the view menu. View > Transparent and View > Joints
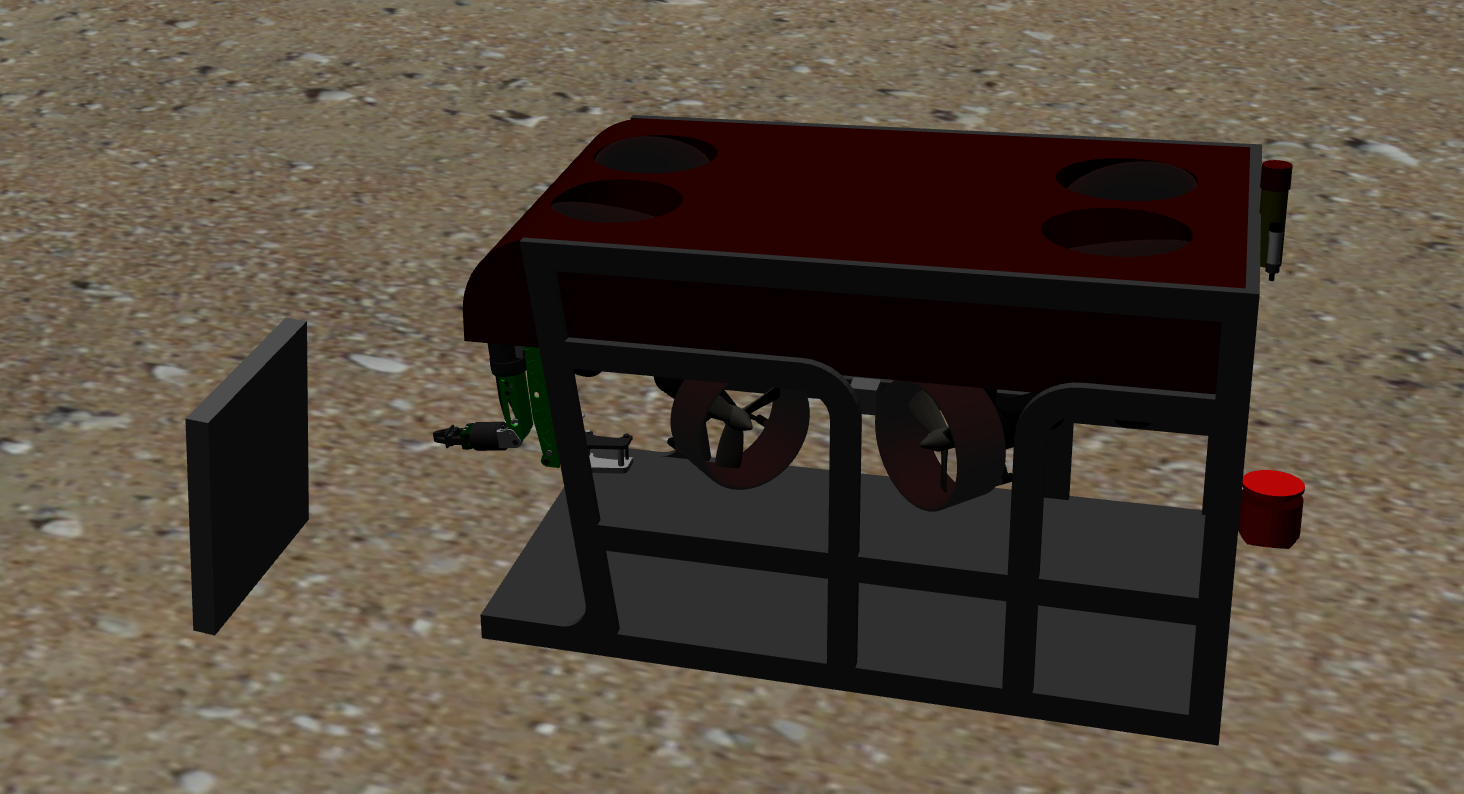
Spring demo
The demo sets up an underwater world with a springy plate that demonstrate the functionality of the FT sensors. To run the demo, launch the following command:
roslaunch dave_demo_launch dave_manipulator_spring_demo.launch
Once Gazebo launches, you will see the RexROV in front of a springy plate.
Visualizing the forces and torques using rqt_plot
Using launch file
Run the following launch command to show an rqt plotter showing the current forces on the gripper joint.
roslaunch dave_demo_launch dave_manipulator_spring_plot.launch
You can see the status of other joints by typing the topic name, followed by the field name, in the Topic text box, and clicking the + button.
Here is the format for the topic names for the FT sensors:
/rexrov/ft_sensor_<joint_name>
If the + button is grayed out, that means the value cannot be plotted. Note that the topic name alone may not be enough, you will have to specify the individual field with a floating point value that can be plotted.
The list of topics available for the FT sensor looks something like this:
$ rostopic list | grep ft_sensor
/rexrov/ft_sensor_azimuth
/rexrov/ft_sensor_elbow
/rexrov/ft_sensor_finger_left_joint
/rexrov/ft_sensor_finger_right_joint
/rexrov/ft_sensor_finger_tip_left_joint
/rexrov/ft_sensor_finger_tip_right_joint
/rexrov/ft_sensor_pitch
/rexrov/ft_sensor_roll
/rexrov/ft_sensor_shoulder
/rexrov/ft_sensor_wrist
You can echo them to see the available fields. For example, the FT sensor at the elbow joint has these fields:
$ rostopic echo /rexrov/ft_sensor_elbow
header:
  seq: 0
  stamp:
    secs: 502
    nsecs: 132000000
  frame_id: "oberon7/elbow_link"
wrench:
  force:
    x: 17.4937491655261
    y: -227.91032518987646
    z: 7.199161641145366
  torque:
    x: -3.034154831890273
    y: -1.6899335009832015
    z: -195.65852993938353
So if you want to see the x force on the wrist joint, the topic is
/rexrov/ft_sensor_wrist/wrench/force/x
You can watch this video that demonstrates the feedback functionality in this spring world.
Using rqt_plot directly
As an alternative to the launch file, you can run rqt_plot directly, passing in topic names as command line arguments:
rosrun rqt_plot rqt_plot /rexrov/ftensor_wrist/wrench/torque/x /rexrov/ft_sensor_wrist/wrench/torque/y /rexrov/ft_sensor_wrist/wrench/torque/z
See this video example for torque sensing.